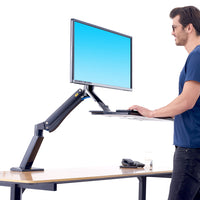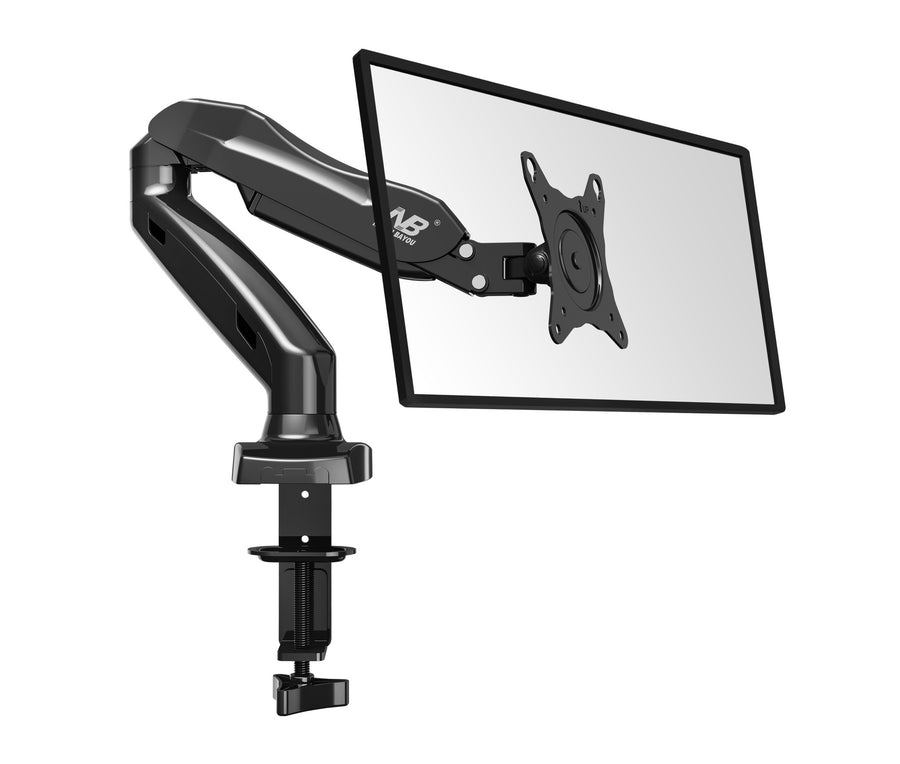
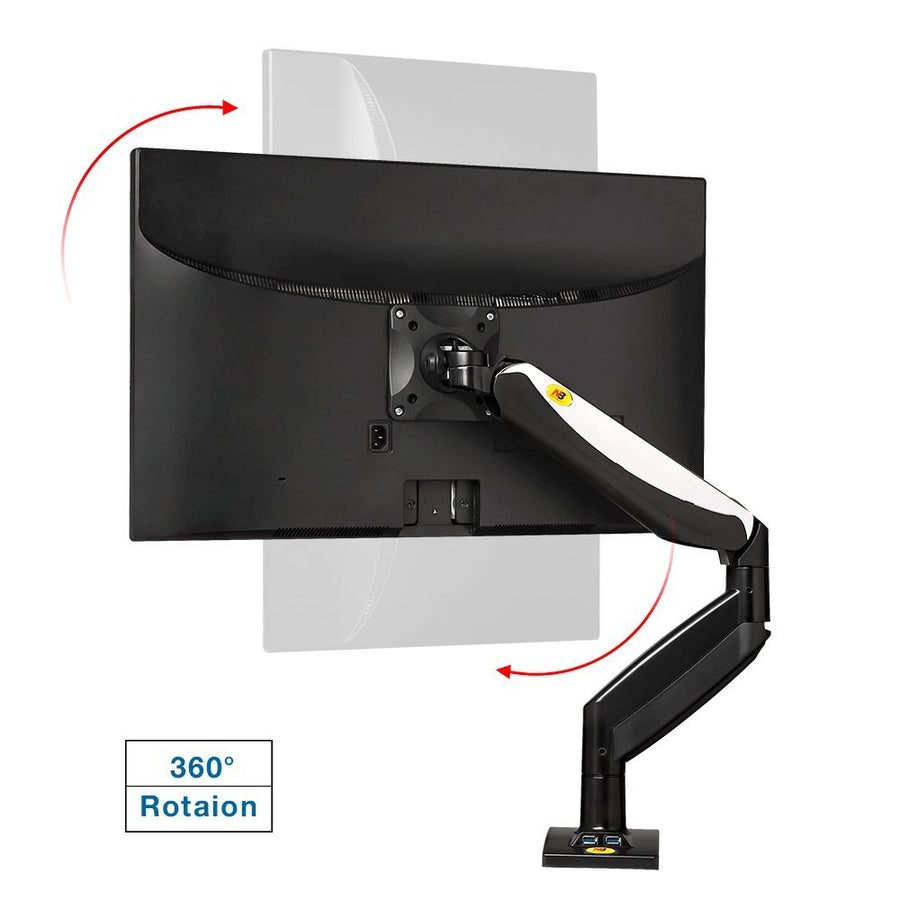


Monitor Arm Buying Guide: How to Pick One That Won’t Sag
Pick a monitor arm that holds its position: check your monitor's weight and VESA pattern, choose single, dual, wall or sit-stand, and make sure your desk fits.


How-to
Clamp it, hang the monitor, set the tension. A step-by-step install for gas-spring monitor arms, plus the two-minute fix for an arm that droops or drifts upward.
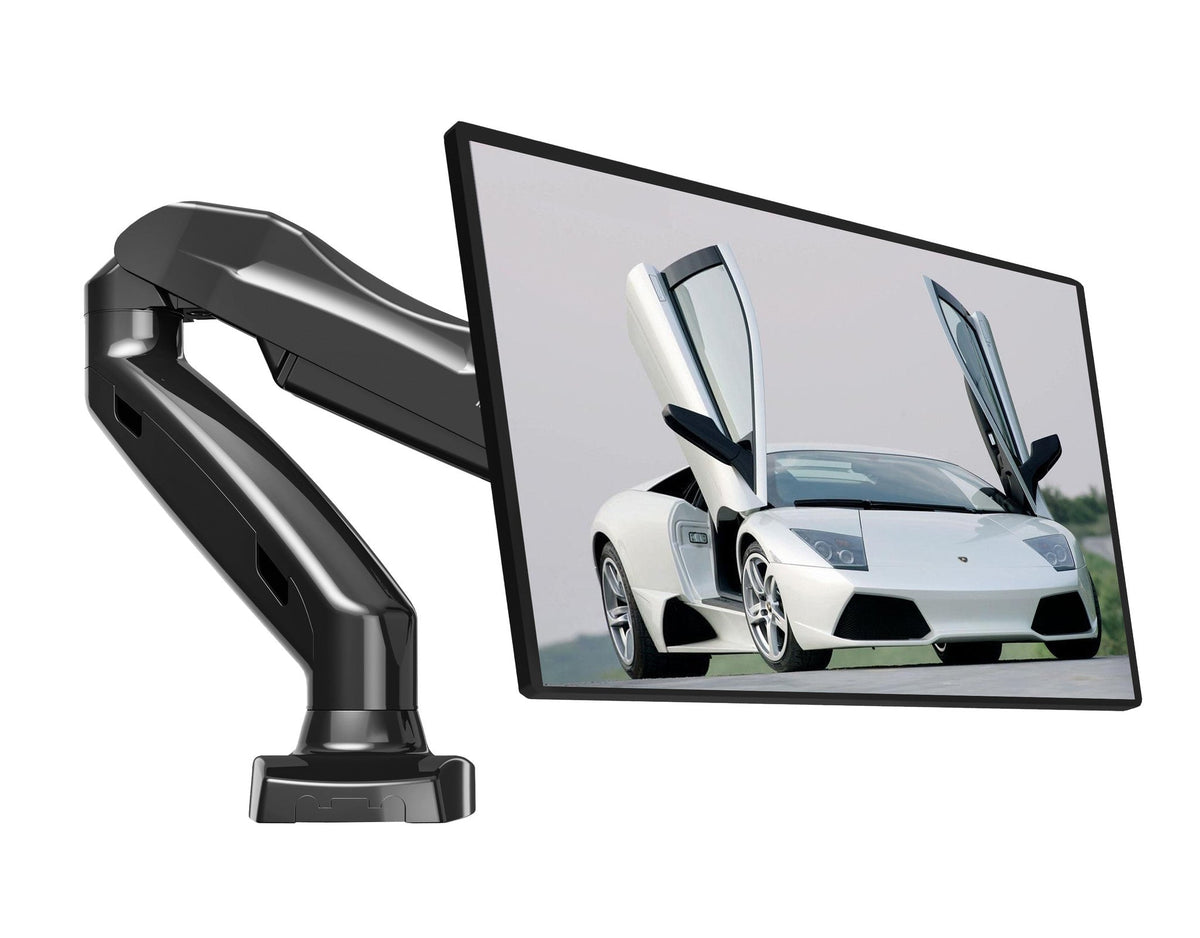
A monitor arm takes about fifteen minutes to install and one adjustment to get perfect. That one adjustment, the spring tension, is the step most people skip. It is also the reason a new arm sometimes droops or floats up. Here is the full install, and the fix.
The short version
A clamp grips the back edge of the desk and needs no drilling. A grommet mount bolts through a hole in the desktop, which is tidier on desks with a cable hole or a thick lip. The F80 supports both.
Position the base where the arm can reach your normal viewing spot, then tighten it firmly. A base that shifts will make the whole arm feel loose.
Drop the arm onto the base or pole and secure it as your manual shows.
Remove the monitor’s stand, lay the screen face down on a soft cloth and screw the plate into the four VESA holes. Hand-tight is enough.
Lift the monitor onto the arm and fasten it. Keep one hand on the screen until it is secured. The arm will want to spring upward when there is no weight on it.
Route the power and video cables through the arm’s cable channels. Leave enough slack for the arm to move through its full range.
Out of the box, the spring is set for a mid-weight monitor. Yours is probably lighter or heavier, so fine-tune it:
| What it does | Likely cause | Fix |
|---|---|---|
| Monitor slowly sinks | Tension too low, or the monitor is over the arm’s limit | Add tension. Check the monitor’s weight against the range. |
| Monitor rises on its own | Tension too high, or the monitor is under the minimum | Reduce tension. Very light screens may be below the 4.4 lb minimum. |
| Screen tips forward | Tilt joint is loose | Tighten the tilt screw behind the VESA plate. |
| Whole arm wobbles | Clamp is loose or the desktop flexes | Retighten the clamp, or move it closer to a desk leg. |
Now use what you paid for. The Canadian Centre for Occupational Health and Safety recommends placing the monitor so the top of the screen is at or slightly below eye level, at about an arm’s length. Its guide to positioning the monitor has the detail. If you wear bifocals or progressives, go a little lower.
Choosing an arm? Compare the F80, F85A and F45, plan a dual monitor setup, or browse all monitor arms and workstations. Every order ships free across Canada.
Pick a monitor arm that holds its position: check your monitor's weight and VESA pattern, choose single, dual, wall or sit-stand, and make sure your desk fits.
Two screens, one clamp, a clear desk. How to choose between the F160 and H180 dual monitor arms, lay out your screens and avoid the three most common...
Three gas-spring arms, three weight classes. A straight comparison of North Bayou’s F80, F85A and F45, so you buy the one that holds your monitor exactly where you...
Try the mount finder for an instant match, or send us your screen model and wall type and we'll recommend a mount.