


Mounting a TV Above a Fireplace: 4 Checks to Do Before You Drill
It looks great in photos, but heat and neck strain ruin a lot of fireplace TVs. Run these four checks first, then pick a mount that tilts or...


How-to
A TV mount is only as strong as what it is bolted to. Learn to find the centre of a wall stud in six simple steps, prove it before you drill, and find studs with no stud finder at all.
A TV mount is only as strong as what it is bolted to. Drywall on its own will not hold a TV, so the bolts have to go into the wooden studs behind it. You cannot see the studs, but they are easy to find once you know how. Here is how to do it with a stud finder, and how to do it without one.
The short version
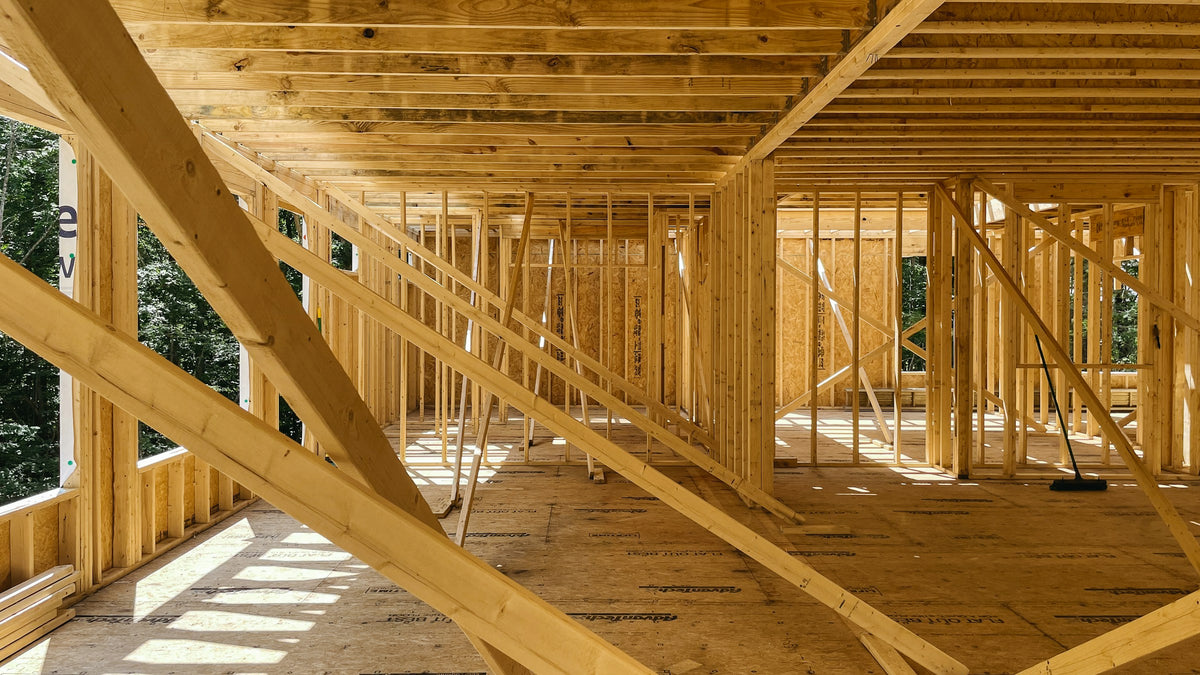
Studs are the vertical pieces of lumber that frame your walls. They run from floor to ceiling, hidden behind the drywall. Each one is about 1.5 in (38 mm) wide, and in most Canadian homes they sit 16 in apart, measured centre to centre. Some walls use 24 in.
Drywall is soft. It will hold a picture frame, but not a TV on a mount. The lag bolts that come with your mount are made to bite into solid wood, which is why every bolt has to land in a stud. Not sure your wall has wood studs? Read our guide to mounting a TV on any wall first.
Decide roughly where the TV will go. Hold the stud finder flat against the wall, about a foot to one side of that spot. Keep it flat. A tilted tool gives bad readings.
Press and hold the button and keep the tool still. Within a second or two it beeps or flashes to show it is ready. The order matters. If you press the button before the tool is touching the wall, it measures thin air, and every reading after that is wrong.
Slide the tool sideways in a straight, level line toward the spot. Go slowly. On many models you keep the button held down the whole time. If it beeps or flashes the moment you start moving, you probably started on top of a stud. Move over a few inches and calibrate again.
When the tool lights up or beeps, it has reached the edge of a stud. Stop and make a small pencil mark there.
Lift the tool, go about a foot past the stud, calibrate again and slide back toward it. Mark where it lights up this time. You now have two marks about 1.5 in apart. Those are the two edges of the stud.
The centre of the stud is halfway between your marks. That is where the bolt goes, because a bolt that only catches the edge of a stud holds far less than one in the middle. Some stud finders show the centre for you. Marking both edges is still worth the ten seconds.
Stud finders can be fooled by pipes, wiring and uneven patches in the wall. Before you drill a big hole, check your work three ways:
Watch for wires. Cables usually run straight up or down from outlets and switches, so avoid drilling directly above or below them. Many stud finders also have a live-wire warning. Treat it as a hint, not a guarantee, and stop if the drill hits anything unexpected.
Electrical boxes are usually fastened to the side of a stud. Knock on the wall on each side of the outlet. The side that sounds solid has the stud, and its centre is about 3/4 in from the edge of the box.
Once you have one stud, measure 16 in sideways to find the next, then 32 in and 48 in. Check each one, because spacing is not always exact. Do not rely on measuring from a corner alone. The first stud is often closer than 16 in.
Knock along the wall with a knuckle. Between studs the sound is hollow. Over a stud it turns duller and more solid.
Drywall is screwed or nailed to every stud. Slide a strong magnet slowly over the wall until it sticks. It has found a screw. Find two or three in a vertical line and you have found a stud.
Baseboards are nailed to the studs. Look for small filled nail holes or dimples along the baseboard. Each one points straight up to a stud.
Whichever trick you use, finish with the nail test before you drill.
With two stud centres marked, the hard part is over. Hold the wall plate against the wall, level it, and mark the bolt holes on your centre lines. Our guide to installing a TV wall mount in 8 steps takes it from there.
Studs not where you want the TV? That is normal. Our low-profile mounts, including the NBC2-F, NBC3-F and tilting NBC2-T, let the screen slide sideways along the wall plate after it is hung. Bolt the plate where the studs are, then centre the TV where you want it.
Usually 16 in, measured from the centre of one stud to the centre of the next. Some walls use 24 in.
About 1.5 in (38 mm). That leaves only 3/4 in on each side of the centre, which is why marking both edges matters.
Most fixed, tilting and large full-motion mounts have a wide wall plate that bolts into two studs. Some compact mounts use one. Your mount’s manual shows which.
Yes. It works the same way on a ceiling, which is useful for a ceiling-mounted TV.
Ready to choose a mount? Browse all TV wall mounts, try the mount finder, or send us your TV model and wall type and we will recommend one. Every order ships free across Canada.
It looks great in photos, but heat and neck strain ruin a lot of fireplace TVs. Run these four checks first, then pick a mount that tilts or...
Screen size is only one of three numbers that decide whether a mount fits. Use this chart to match your TV’s size, weight and VESA pattern to the...
A step-by-step guide to hanging a TV on a stud wall: the tools you need, the eight steps, the mistakes to avoid, and a video of a full-motion...
Try the mount finder for an instant match, or send us your screen model and wall type and we'll recommend a mount.

